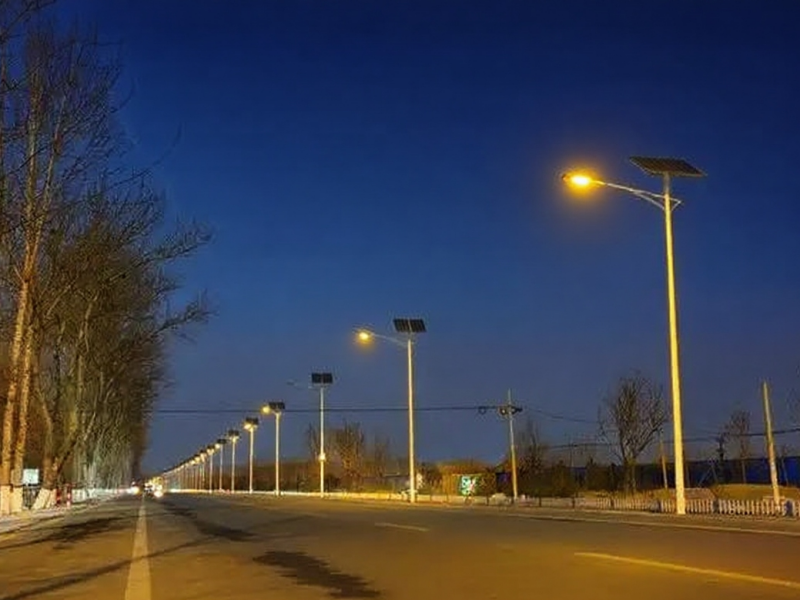
Lithium battery solar street lights are widely used in outdoor applications due to their “wiring-free” and easy installation advantages. The key to wiring is correctly connecting the three core components: the solar panel, lithium battery controller, and LED street light head. The three key principles of “power-off operation, polarity compliance, and waterproof sealing” must be strictly adhered to. Let’s learn more today from solar light manufacturer TIANXIANG.
Step 1: Connect the lithium battery and controller
Locate the lithium battery cable and use wire strippers to remove 5-8mm of insulation from the end of the cable to expose the copper core.
Connect the red cable to “BAT+” and the black cable to “BAT-” on the corresponding controller “BAT” terminals. After inserting the terminals, tighten with an insulated screwdriver (applying moderate force to prevent the terminals from stripping or loosening the cables). Turn on the lithium battery protection switch. The controller indicator should illuminate. A steady “BAT” light indicates a proper battery connection. If it doesn’t, use a multimeter to check the battery voltage (normal voltage for a 12V system is 13.5-14.5V, for a 24V system is 27-29V) and verify the wiring polarity.
Step 2: Connect the solar panel to the controller
Remove the shade cloth from the solar panel and use a multimeter to check the panel’s open-circuit voltage (usually 18V/36V for a 12V/24V system; the voltage should be 2-3V higher than the battery voltage to be normal).
Identify the solar panel cables, strip the insulation, and connect them to the controller’s “PV” terminals: red to “PV+” and blue/black to “PV-.” Tighten the terminal screws.
After confirming the connections are correct, observe the controller’s “PV” indicator. A blinking or steady light indicates the solar panel is charging. If it doesn’t, recheck the polarity or check for a solar panel malfunction.
Step 3: Connect the LED street light head to the controller
Check the rated voltage of the LED street light head. It must match the voltage of the lithium battery/controller. For example, a 12V street light head cannot be connected to a 24V system. Identify the street light head cable (red = positive, black = negative).
Connect the red terminal to the corresponding controller “LOAD” terminal: “LOAD+” and the black terminal to “LOAD-.” Tighten the screws (if the street light head has a waterproof connector, first align the male and female ends of the connector and insert them tightly, then tighten the locknut).
After wiring is complete, confirm that the street light head is lighting properly by pressing the controller’s “test button” (some models have this) or by waiting for the light control to trigger (by blocking the controller’s light sensor to simulate nighttime). If it does not light up, use a multimeter to check the output voltage of the “LOAD” terminal (it should match the battery voltage) to check for damage to the street light head or loose wiring.
PS: Before installing the LED lamp on the pole arm, first thread the lamp cable through the pole arm and out at the top of the pole. Then install the LED lamp on the pole arm and tighten the screws. After the lamp head is installed, ensure that the light source is parallel to the flange. Ensure that the light source of the LED lamp is parallel to the ground when the pole is erected to achieve the best lighting effect.
Step 4: Waterproof sealing and securing
All exposed terminals should be wrapped with waterproof electrical tape 3-5 times, starting from the cable insulation and working towards the terminals, to prevent water from seeping in. If the environment is rainy or humid, additional waterproof heat shrink tubing may be used.
Controller Installation: Secure the controller inside the lithium battery box and protect it from exposure to the rain. The battery box should be installed in a well-ventilated, dry area with the bottom elevated to prevent water from soaking it.
Cable Management: Coil and secure any excess cables to prevent wind damage. Allow some slack for solar panel cables, and avoid direct contact between cables and sharp metal or hot components.
If you’re looking for reliable, high-performance solar street lights for your outdoor lighting project, solar light manufacturer TIANXIANG has the expert answer. All terminals are waterproof and sealed to an IP66 rating, ensuring safe operation even in rainy and humid environments. Please consider us!
Post time: Sep-09-2025

